Everything You Need to Know About Lists
May 15, 2024
•2 minute read•1387 views
TL; DR
Head over to callchimp.ai/lists/new to create a new lists
Select a campaign and enter the list name.
Import leads data CSV file to place calls.
Introduction
Lists in callchimp.ai provide you with the benefit of categorizing your leads. Lists are specific to a campaign and are not shared between them.
Consider an example of an insurance agency using Callchimp. An insurance agent might want to create different groups based on the insurance policy amount.
Another example can be an institution having list names as cohort name or IDs.
Where to find lists?
All Lists
Once logged in, lists can be accessed through the navigation menu. (callchimp.ai/lists)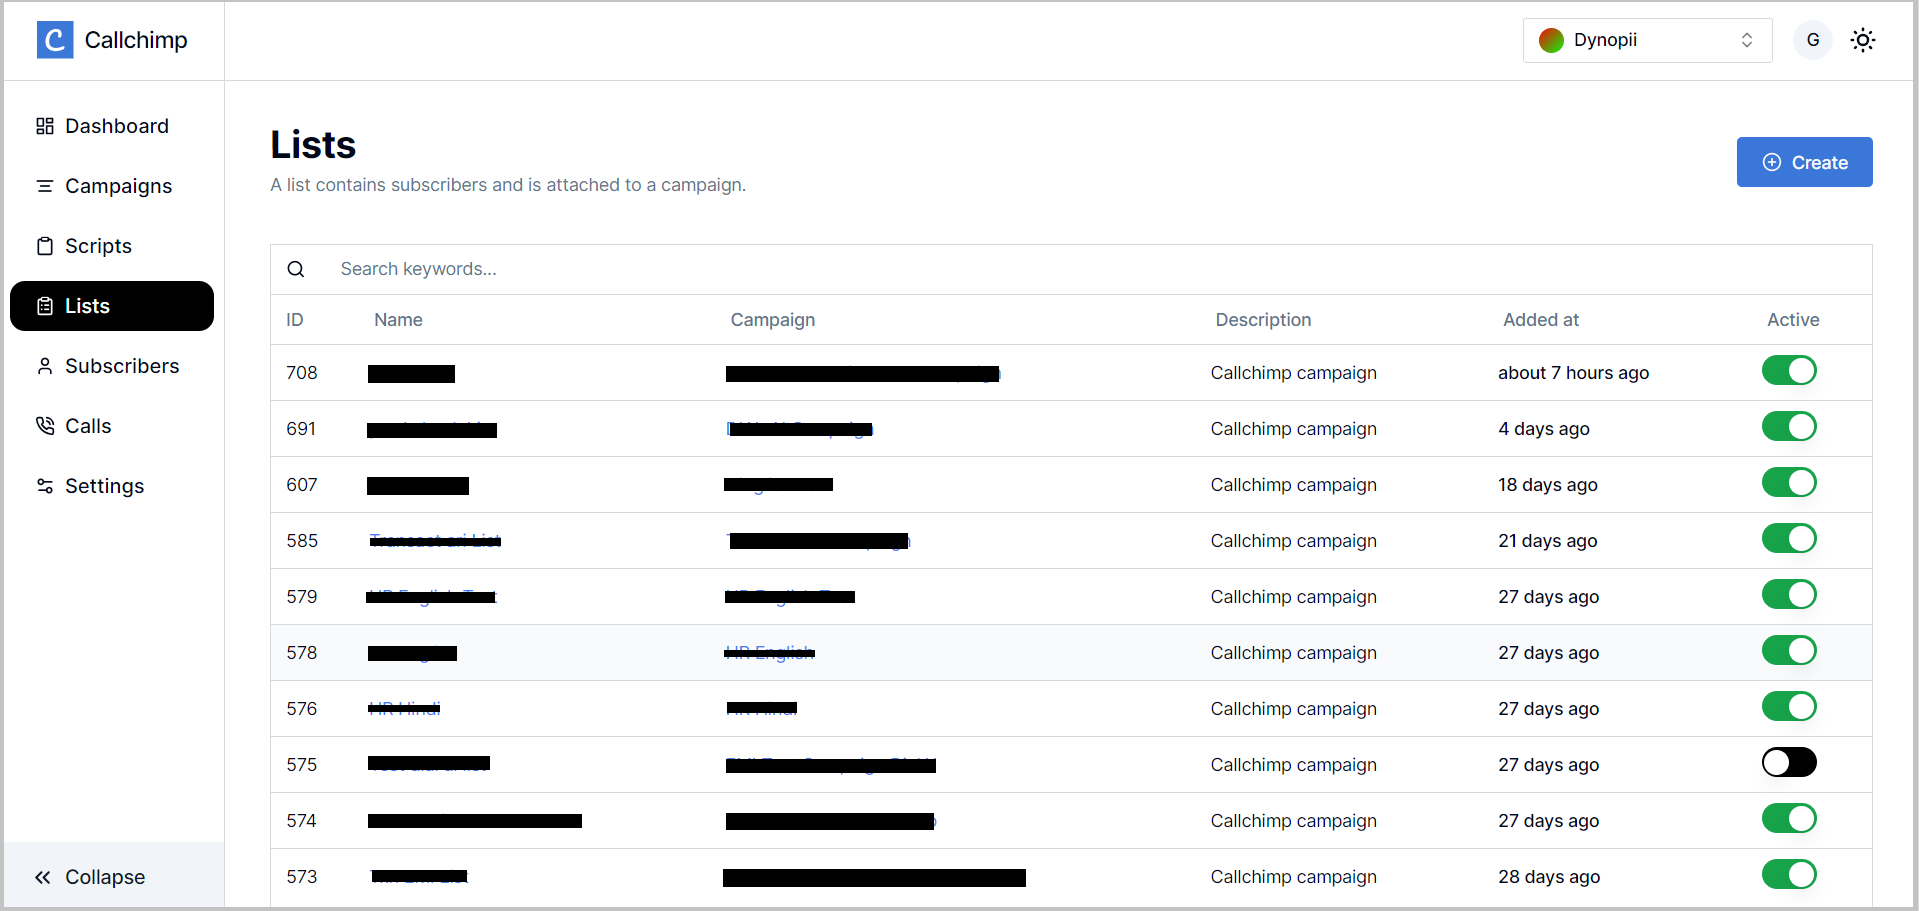
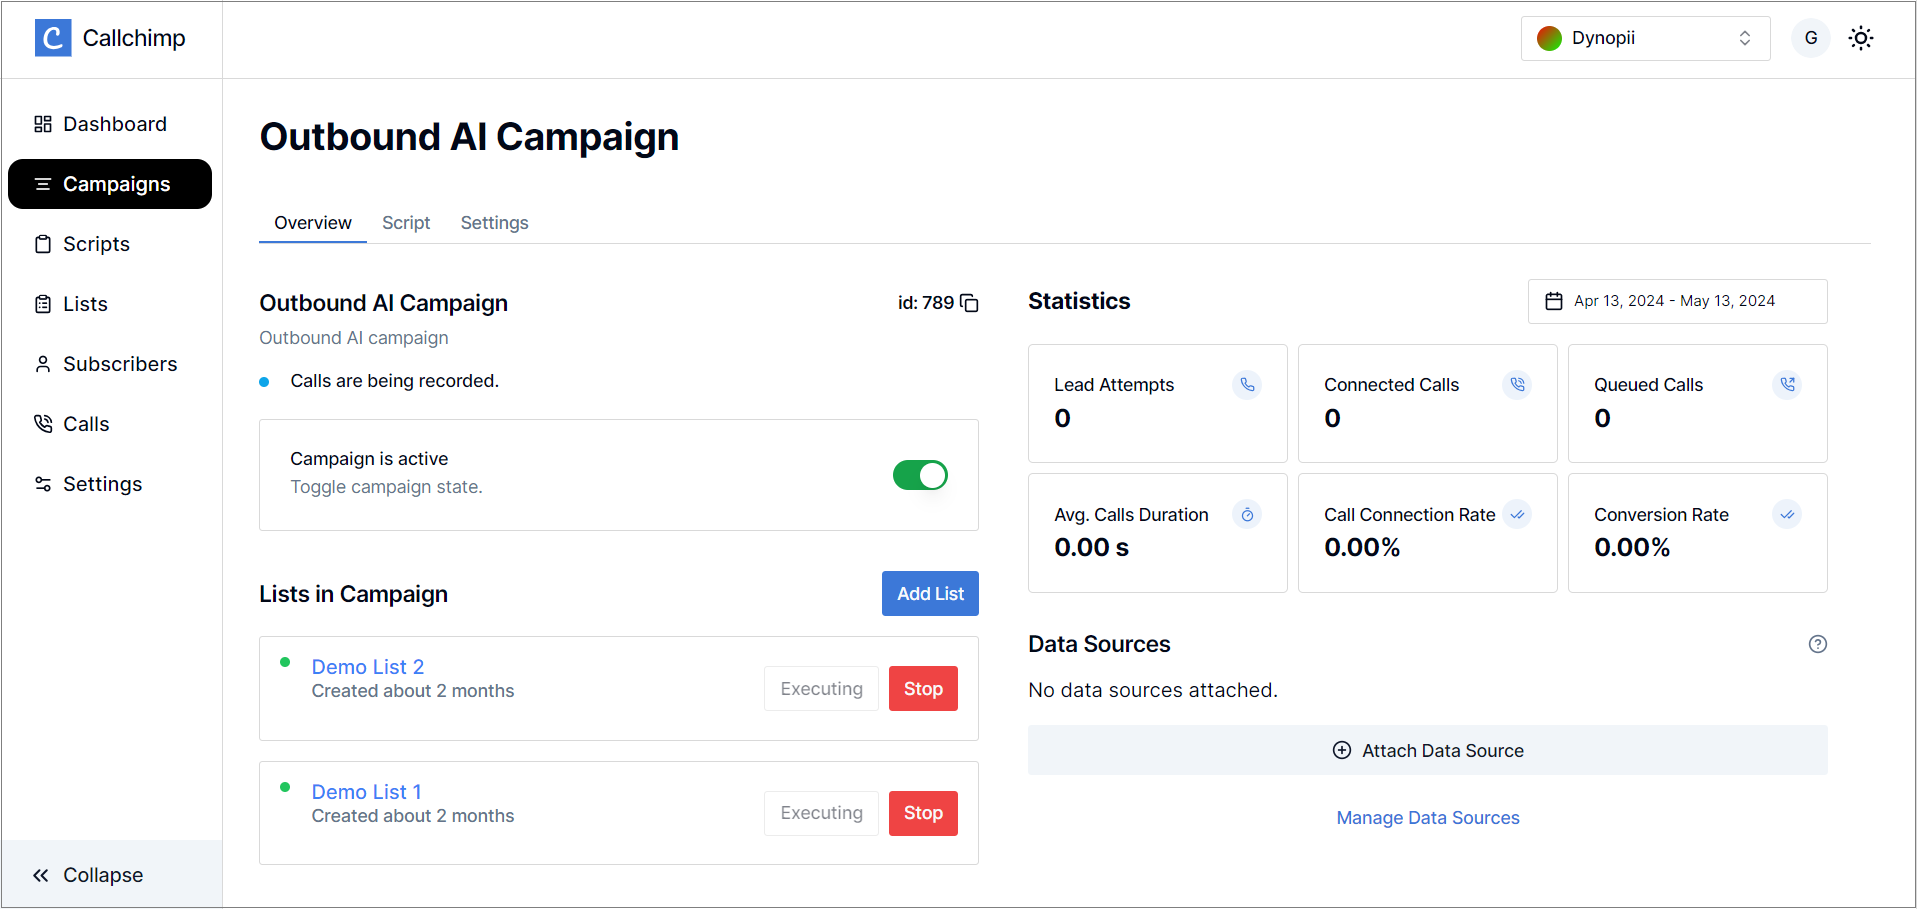
Campaign specific lists
A single campaign can have multiple lists, by default when a campaign is created, no lists for the campaigns exist. Navigate to a particular campaign and you can find the available lists
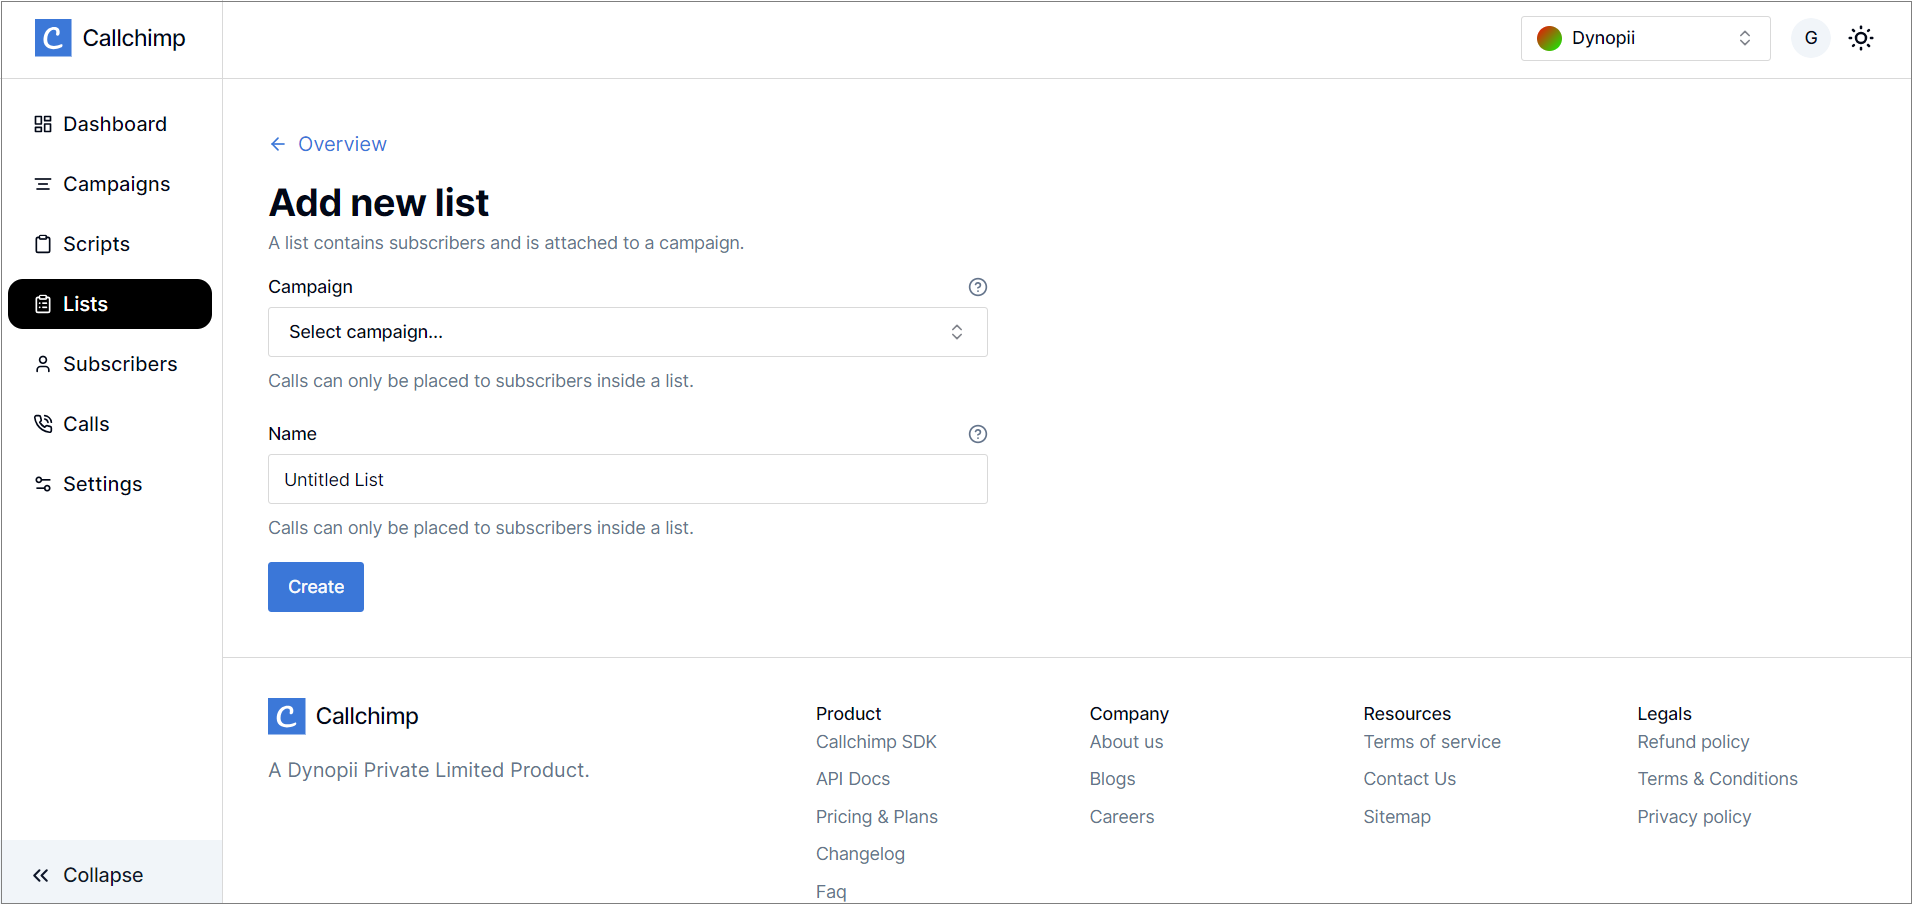
Creating a list
To create a list, click on the Create button on the All Lists page (callchimp.ai/lists)
This takes us to the create list page (callchimp.ai/lists/new). Following the mentioned steps
Select the campaign the list needs to be created for.
Enter the list name
Click on Create to finish
Importing data in a list
In the selected list page, head over to the Import tab to upload your data to the list.
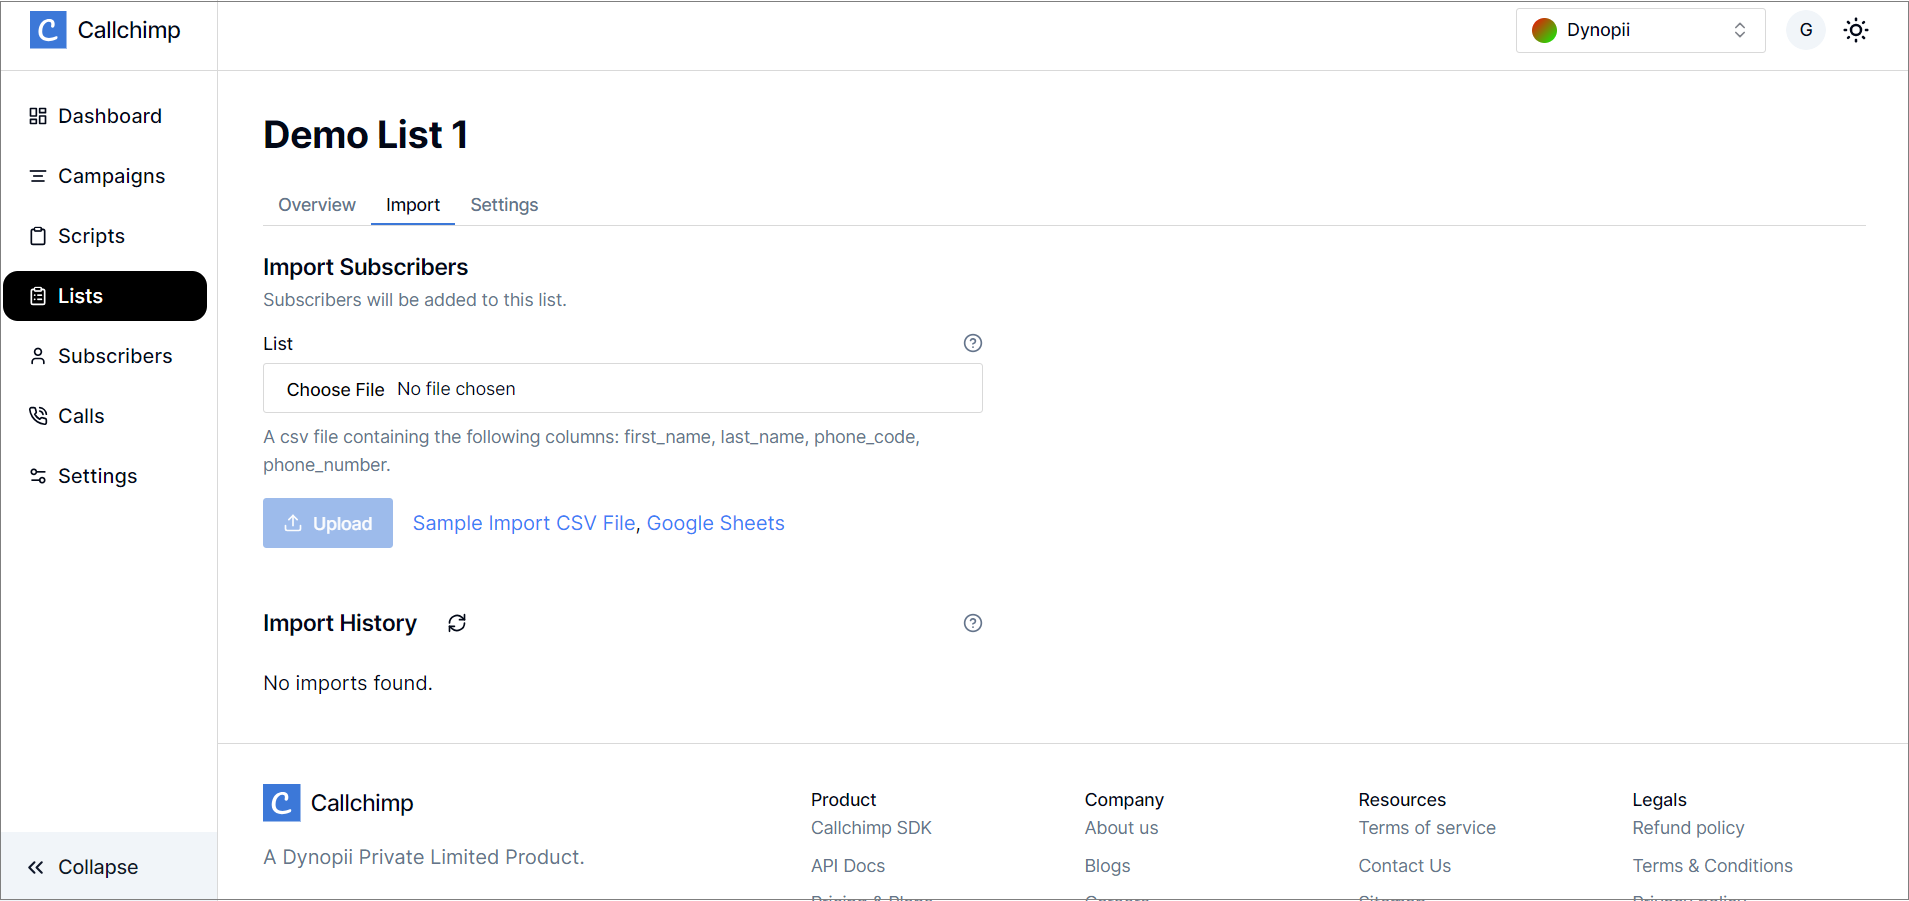
The "Import History" section shows all past data uploads that have been processed, including errors if any.
The following columns are mandatory when uploading a csv file for any type of campaign :
first_name
last_name
phone_code
phone_number
Violation of any of these headers causes the data import to fail.
💡 For campaigns with transactional scripts, the additional column names as required in the script are also shown for a better user experience!

Related links

Learn more about Gourav Ghosal
Passionate about crafting exceptional web experiences that merge creativity with functionality. Skilled in web design, development, UI/UX, graphic design, and small-scale video editing. Committed to creating user-centric designs and adhering to best practices, with a focus on sustainability and innovation.